Installation and Use
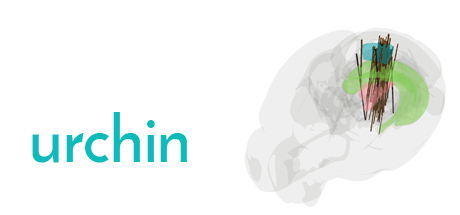
The Universal Renderer for Neuroscience (Urchin) allows you to connect your Python scripts to a standalone rendering program, to create graphics like the ones above.
Install
pip install oursin
No additional installation is required if you plan to run Urchin in a browser. A standalone desktop application is also available from the releases page. Linux standalone available on request.
Instructions
import oursin as urchin
urchin.setup()
Calling setup()
opens a web browser and links it to your Python client. Set the parameter standalone = True
to connect to a standalone Desktop application.
Troubleshooting ID
When opening the renderer your ID should be set automatically. If this fails or you need to change your ID press I
and enter your account username. If you aren’t sure what that is, try running:
python
import os
os.getlogin()
You can press C
to open the console in the renderer to confirm your ID was set correctly.
Camera control
Left click + drag along the Y axis to pitch the brain
Left click + drag along the X axis to yaw the brain
Hold shift while left clicking and dragging along the X axis to spin the brain
Scroll to zoom
Right click + drag to pan
Hold [SHIFT] or [CTRL] while moving on any axis to increase or decrease the speed, respectively.
You can use urchin.camera.capture_image(filename)
to take screenshots.
Grids and Axes
In orthographic camera mode these will look a bit weird, use the perspective camera.
Press [G] to bring up a flat grid
Press [A] to bring up a set of 3D axes (I know… they’ll get better eventually)
Screenshot mode
Press [S] to hide the settings menus
Settings
When individual brain areas are loaded, e.g. by using urchin.ccf.load_beryl()
, you can “explode” the brain using the slider option. Options allow you to explode just one side as well as set the default colors on one side of the brain. Additional “explode” axes can be added on request.
The camera rotation button continuously increments the spin angle to rotate the camera around the current camera target. The speed is controlled by the slider. You can then capture videos using the windows screen capture features [WINDOWS + G].
Rendering
We’re in full beta mode right now – asking Dan to build you an example is probably the best way to get started.
You can also browse the Examples and [API](file:///C:/proj/VBL/vbl-docs/docs/build/html/_autosummary/unityneuro.render.html#module-unityneuro.render) for inspiration.
Citing
If you use this to make figures for a publication you should cite this repo, email me (dbirman@uw.edu) and I can generate a DOI.